Ok,...I waited a few weeks in hopes we would hear from other closet customizers. Not sure why they haven't come forward,....I KNOW there has just got to be a few more out there!

Maybe not though,....but there's still time to post any of your projects......
Perhaps they're a bit nervous others will,....lets say,...."frown" upon their efforts. Take solace in the fact that even a Randall knife is simply a tool, designed for a range of tasks. However, it won't do ALL of them as well as one designed for a specialized function.
Case in point is a chef's knife, .....generally designed with a wide thin flat ground blade that slices through veggies, meat, and fresh baked bread better than most in food prep.
Try to gut and skin a deer or bear and you'll struggle along, but the job will probably get done. It will just take more effort and proceed much slower than it needs to be. Probably several holes in the hide also! :-) A knife that excels in one area will struggle in another for which the blade is not optimized for the tasks at hand.
One thing Randall's certainly are is TOUGH, and I've personally always wished they would offer at least a few more models using 1/8" stock, or 3/16" forged blades ending up about 1/8" thick with a grind better suited to wood working tasks and food prep. My Model 10-3 I love the edge on,....and it's thin enough to be a good slicer yet has enough meat above the edge to make it solid.
I had considered to pick up a model 10-5 (or a rarer vintage 10-4) to see how it would handle bushcraft tasks. I know it would be great at food prep, the edge geometry is right for that.....but the handle looks a bit narrow for woodcraft. I haven't handled one personally, but I know I like a bit more meaty grip for wood processing.
Anyway, I just finished a project that I've been wanting to get done for awhile now. I finally picked up a Model 28 Woodsman. I'd been waiting a few years, hoping that Randall would eventually offer it in carbon steel version. But after waiting maybe 5 years, and now fast approaching age 59,.....I decided I better not wait much longer!
I like the ease of sharpening carbon steel, but it was the other blade work I had in mind that i KNEW would be a real chore to get done with a lot of hand sanding and finishing.
The high chromium content makes hand sanding stainless steel a real PITA! After a rough grinding with a 1/2 inch drum sander, and removing the section of the blade to eliminate the finger choil, (a most useful part of the blade is lost with the choil!)....all other sanding work was done by hand against a solid steel FLAT machinists block. I started with 200 grit, then 400 grit,.....to 600 grit, and finished with 1500 grit using water to final sand and impart a near mirror finish.
Simply put, the strength that make a Randall so popular is arrived at through a nice heat treat,... AND a rather stout blade thickness.
The changes I wanted make this knife better suited to my needs and plans for using the knife doing Bushcrafting duties! A mighty fine veggies slicing tool also....
......and of course the main reason for using the Model 28 Woodsman as the base knife was because of the solid full tang construction, and having a hand filling comfortable grip that is just right for my medium sized hands.
OK,....here is my Model 28 as it arrived,.... pictured next to a solid performing bushcrafter blade. (Blind Horse Knives GNS model in 01 tool steel with a saber grind,...great slicer in food prep also) I wanted to get closer to that style blade for the needs of a bushcrafter.
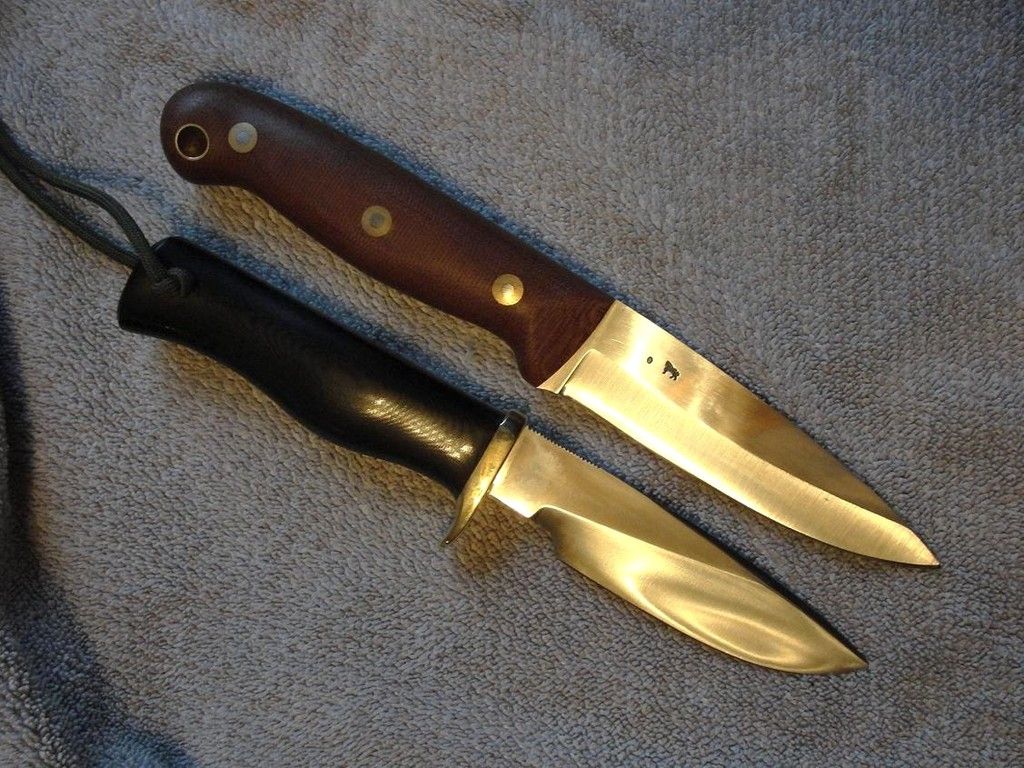
The first thing that I did was remove the lower blade edge to eliminate the finger choil area. I use that area of a blade a lot, and decided to go this route to gain that area back on this project.
Had I had a belt sander, I might have tried to simply thin the blade and maintain the original grind lines,....as it reminded me of the Model 10-5 blade here, with a meatier handle.
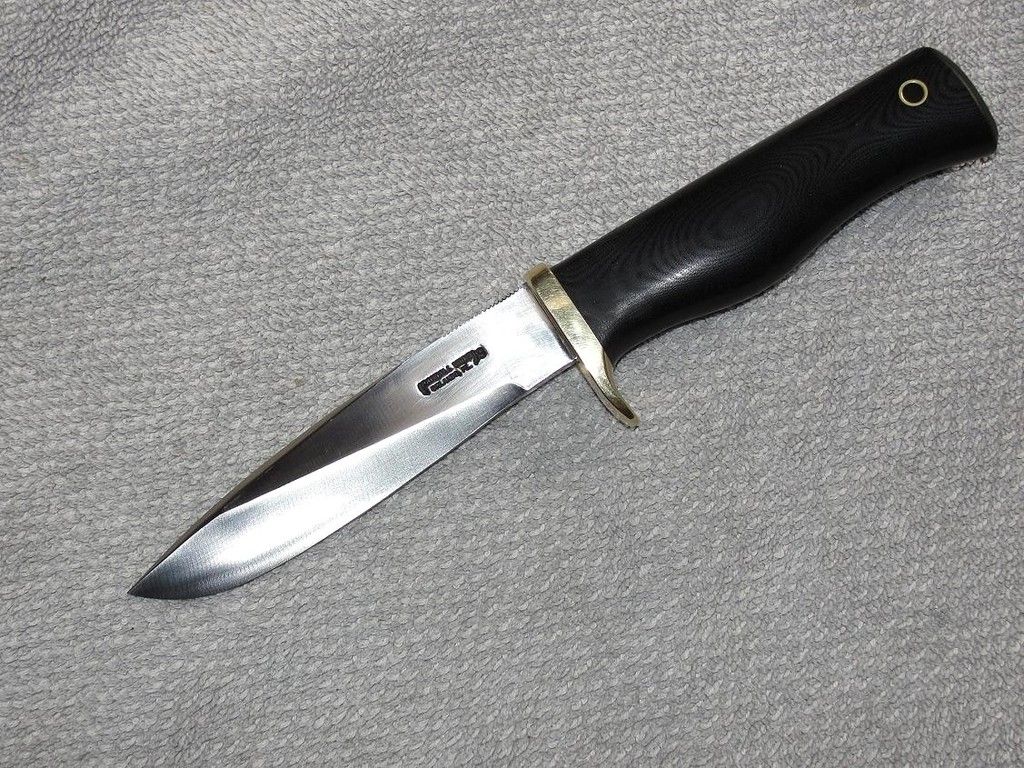
Of course this thickened up the edge dramatically, and would need to be thinned again before a new working edge could be added. Look close and you'll see a lot of metal from the sides would need to come off.
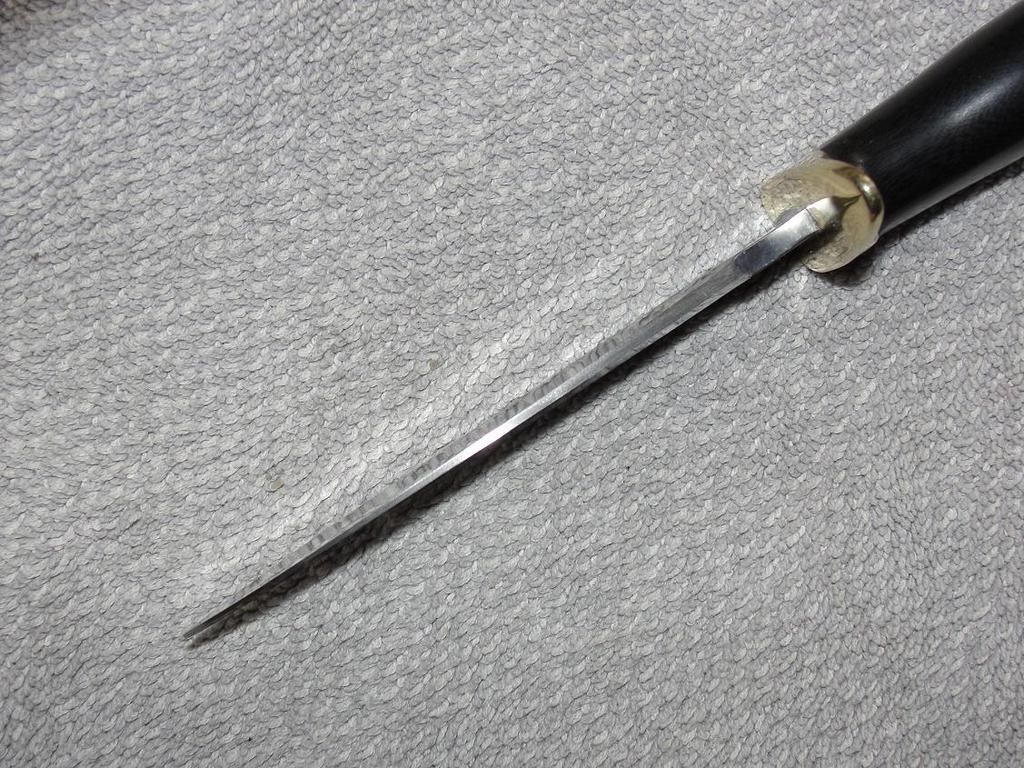
I actually had to go through the finishing process TWICE, as after the first time I found the edge geometry was still a bit too thick for the intended purpose. This is after the 2nd time.
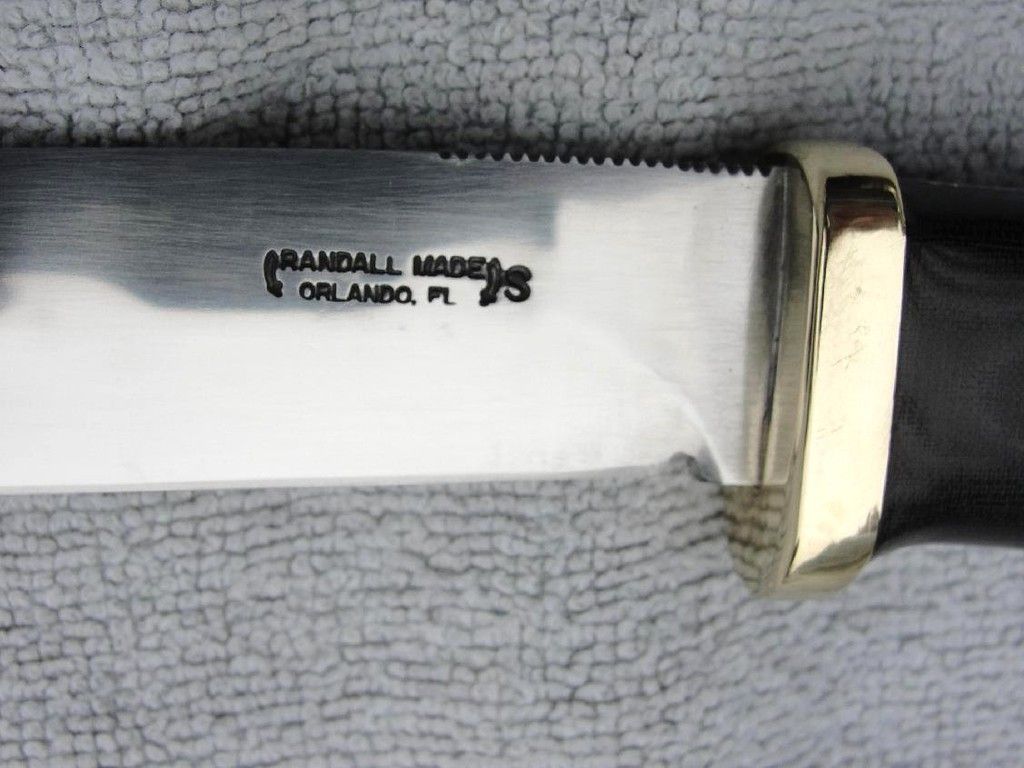
Note: Hand sanding is much safer when working around the Randall Made stamp. Mine had a nice deep stamping, which allowed for a decent amount of metal to be removed and still have a sharp and clear stamp. On a belt sander you could easily "go too far" and take out a few letters!
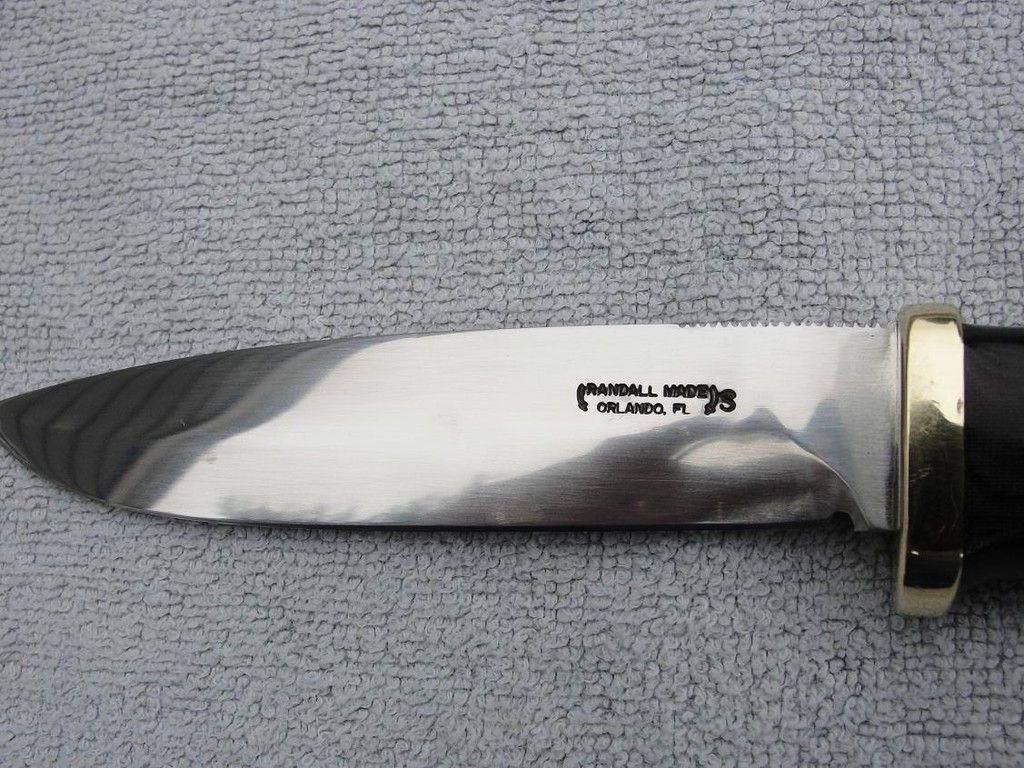
....another view to see the near mirror finish. As I'll be using it regularly, I wasn't concerned with achieving a full mirror. But this level can be touched up easily with just a wet sanding with the 1500 grit paper.
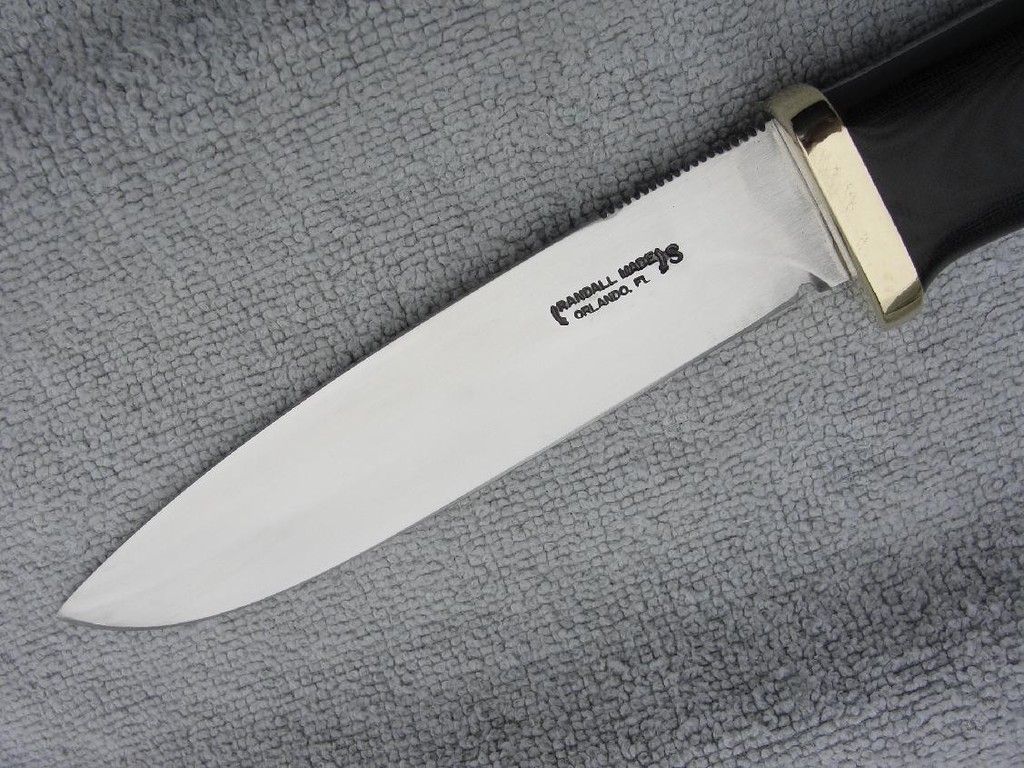
I also sanded the sides enough to eliminate the tapered false edge along the spine, and gave it a 90 degree spine to allow for striking with a fire steel. The thumb notches are not my preference and not usually seen on any Bushcraft style knife, but they don't bother me enough to actually remove them. They DO make a handy emergency "nail file" too!

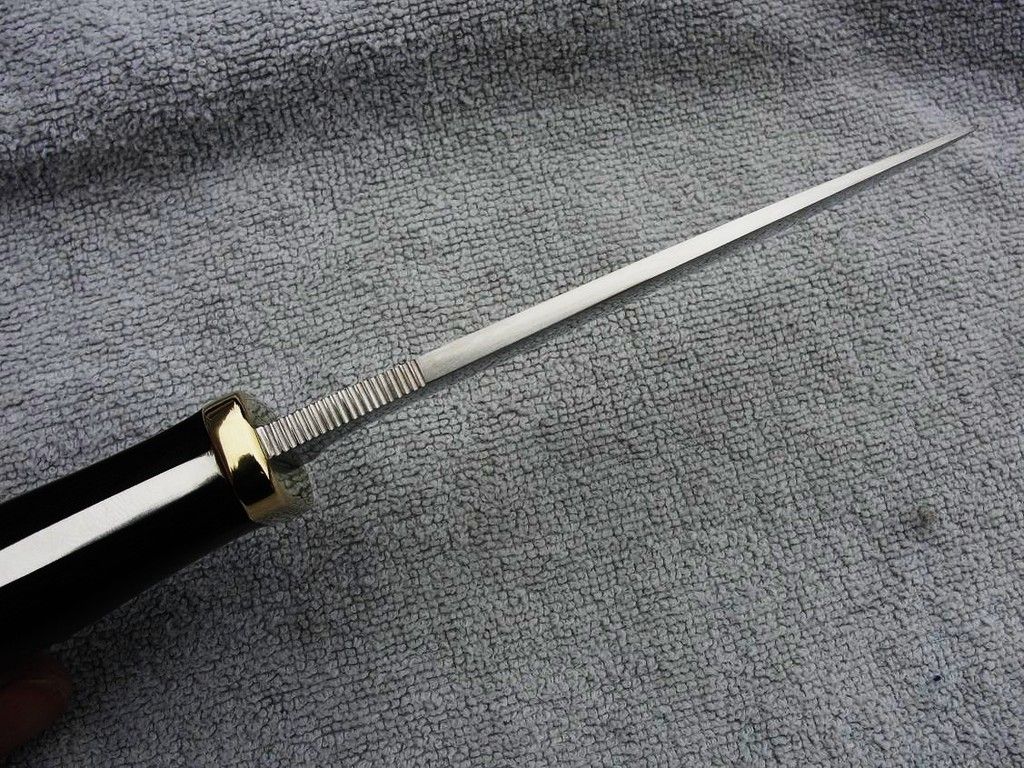
Here is the blade width compared to my stock Model 26 Pathfinder at the bottom:
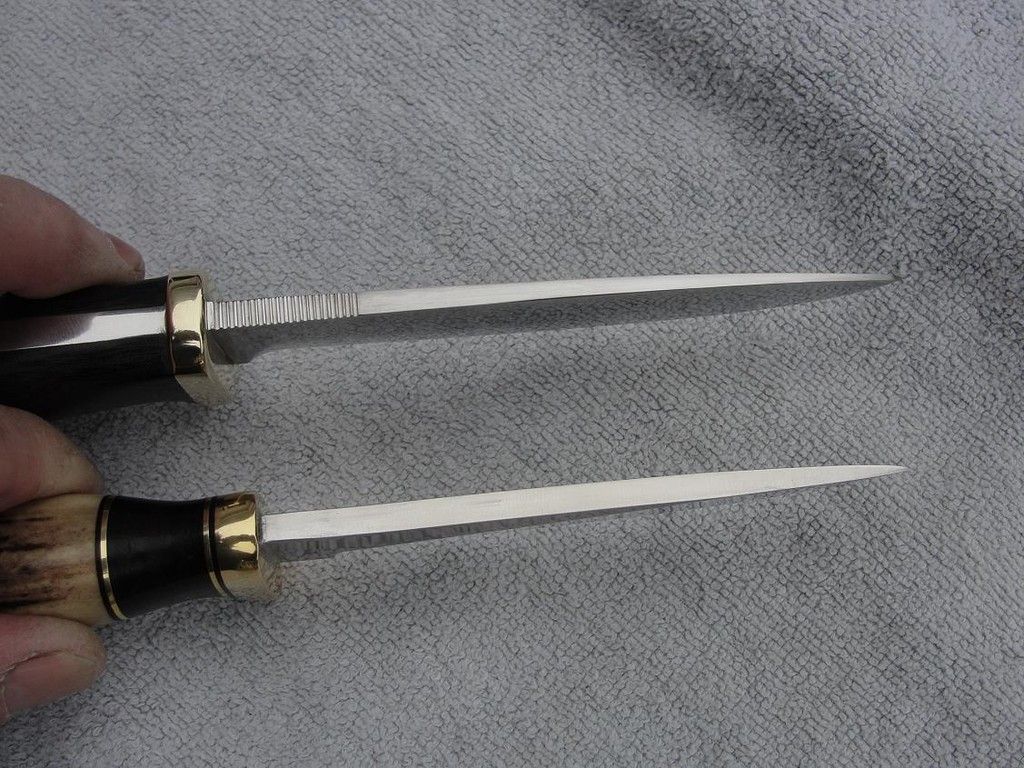
And the blade profile of the altered model 28 compared to my model 26:
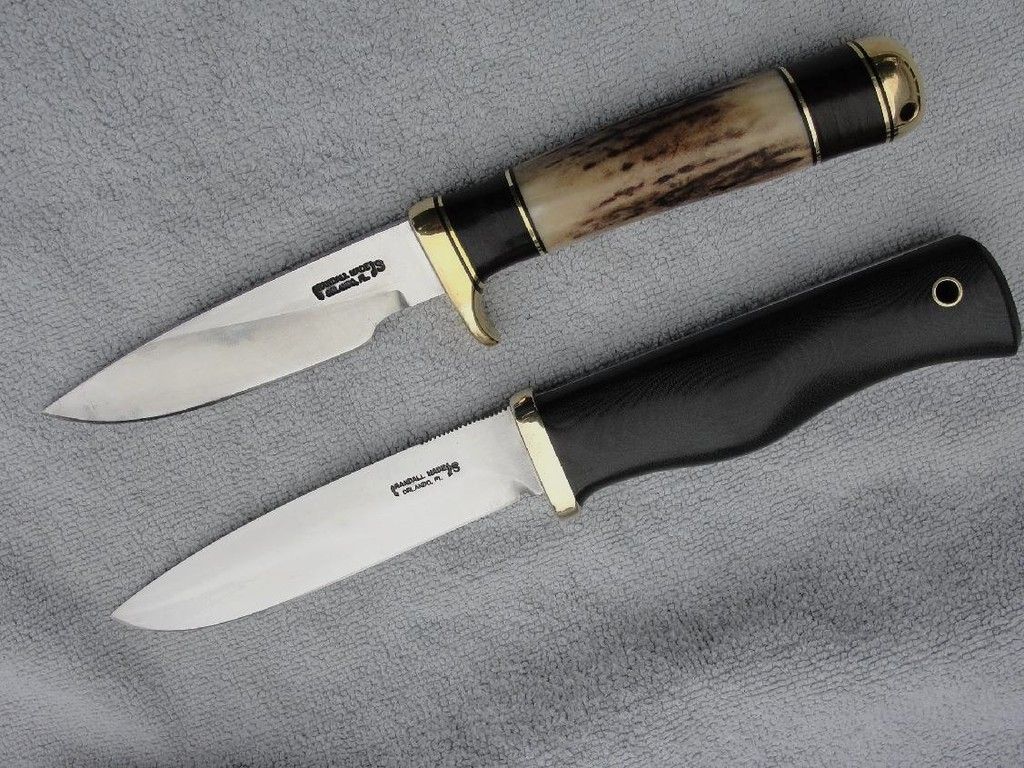
I decided since I was dedicating this to more bushcrafting type work,...and also because I wanted to use a nice Randall pouch sheath that was a bit loose for the knife it came with (the Model 26 Pathfinder I posted on earlier in this thread) ,....that the finger guard had to be drastically reduced:
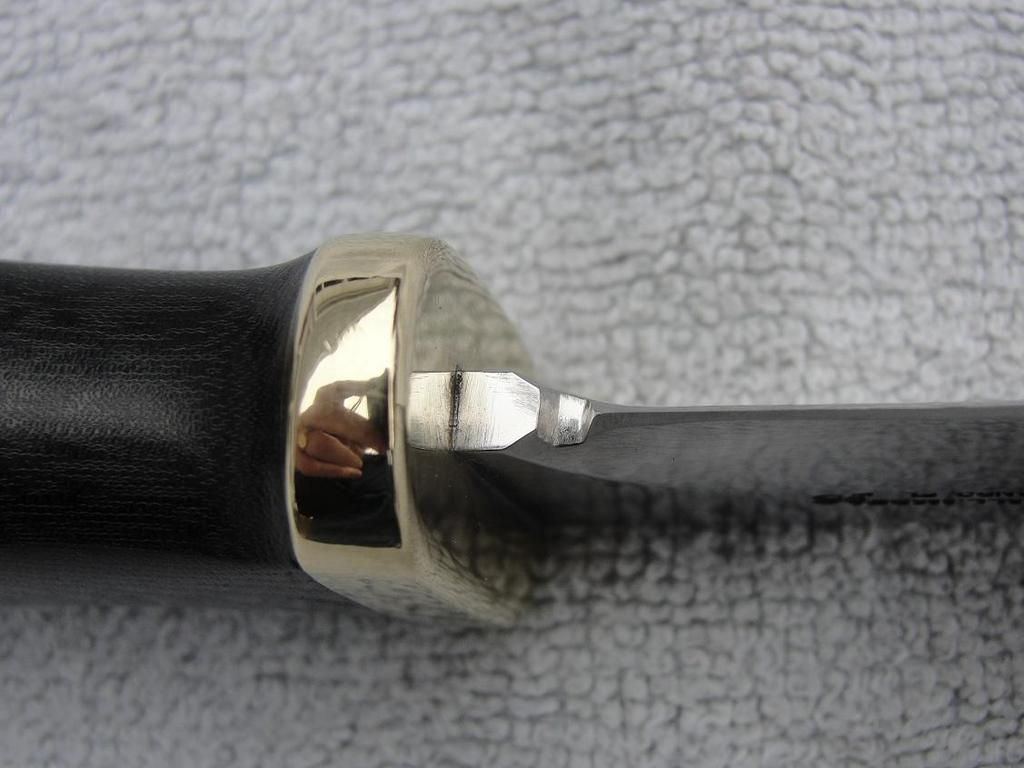
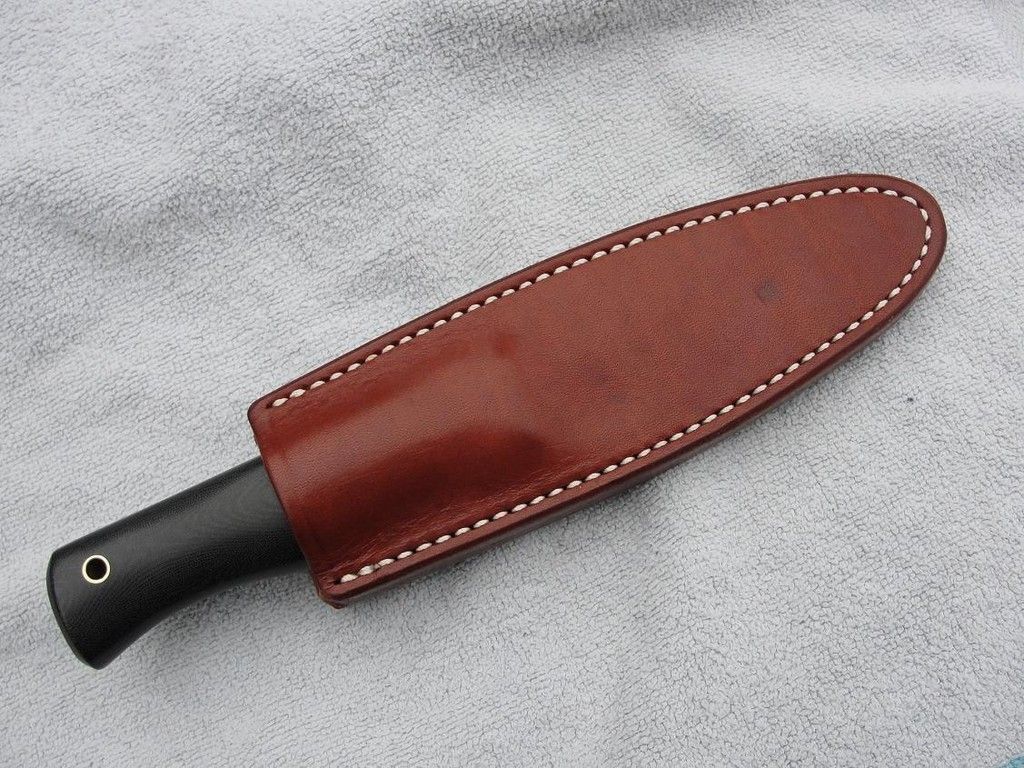
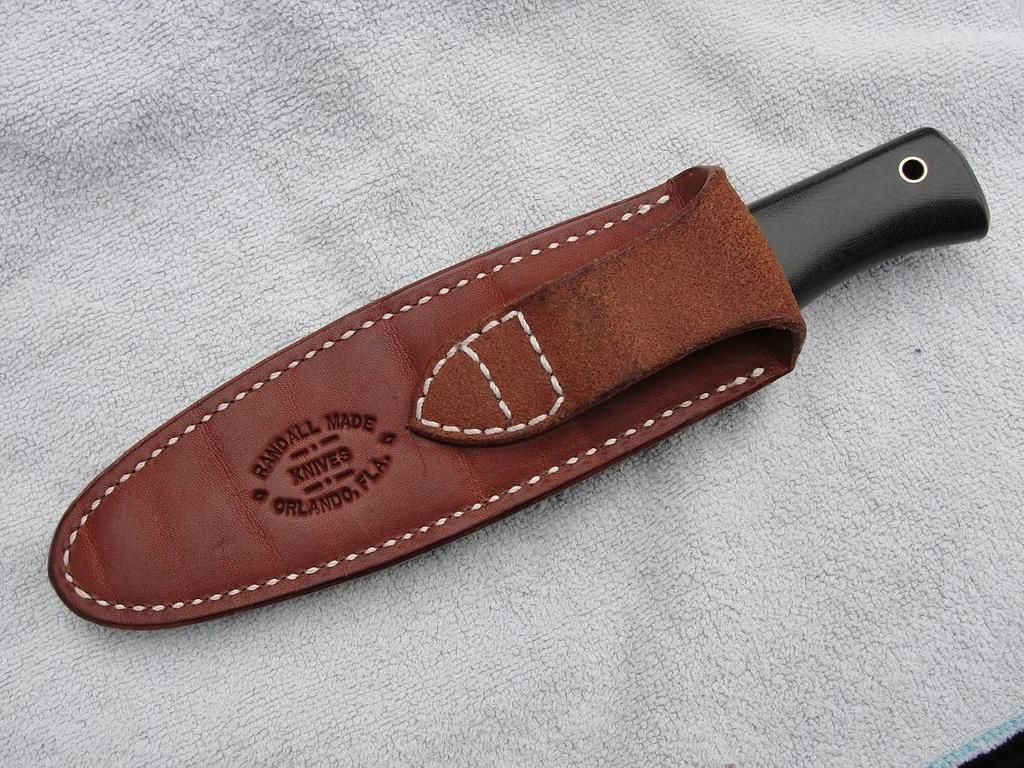
I shaped the hilt to be a nice friction fit to the sheath, with a very slight bevel on the front of the brass hilt. (out of view here) This makes for a smooth entry into the sheath opening:
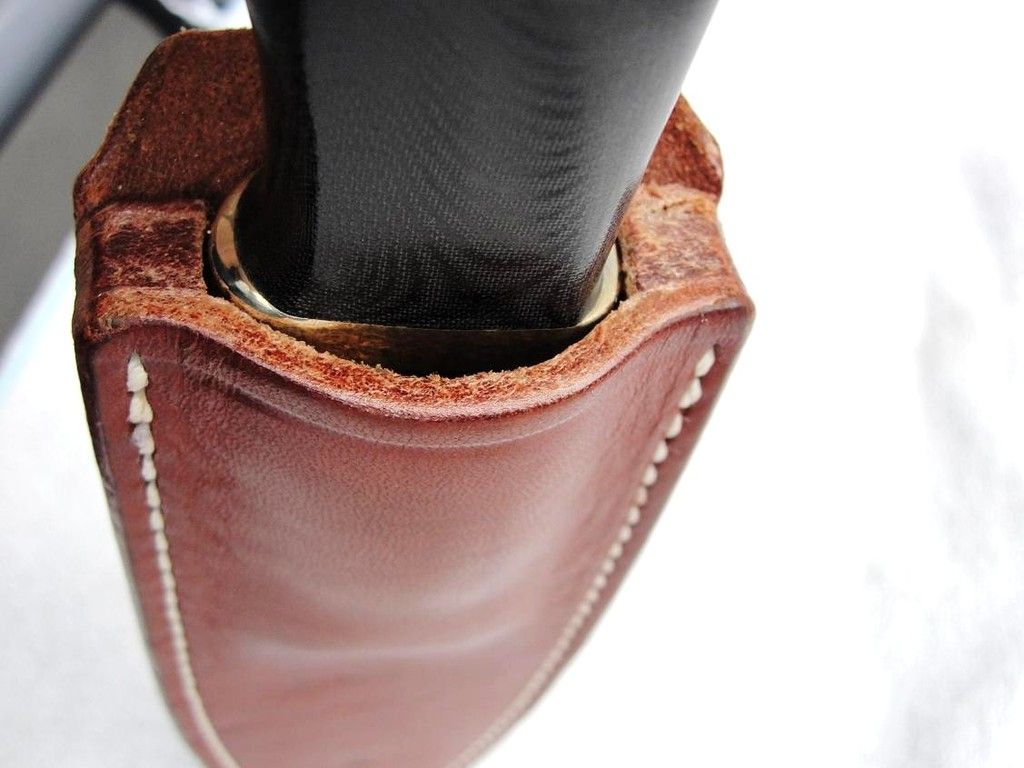
When fully seated, the center bulge in the handle secures the knife at a second position. The shaped hilt sitting lower in the sheath being the other friction securing point. With this setup, the knife doesn't even rock at all in the sheath.
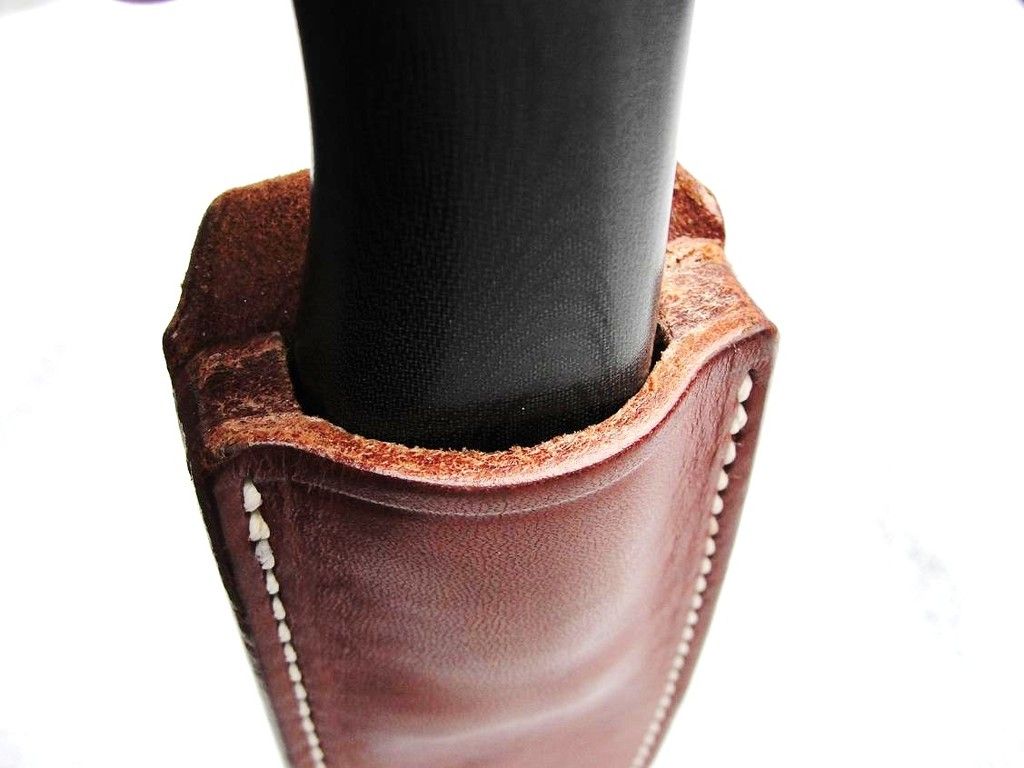
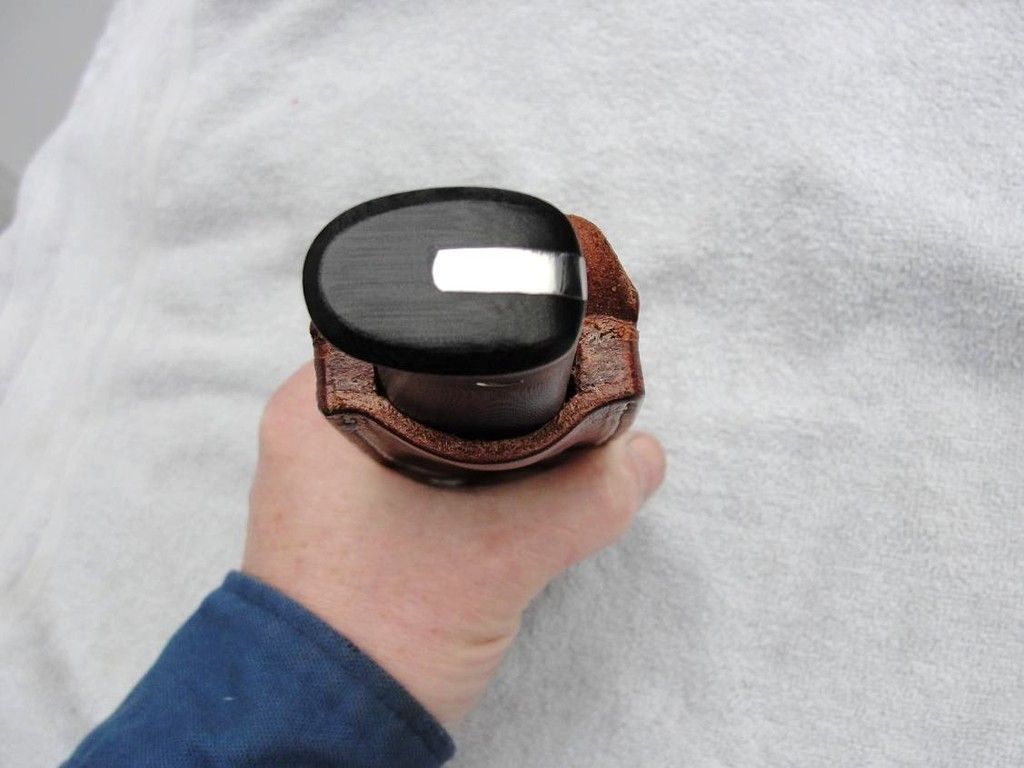
I added a small sharpening choil after sharpening, because I found the stone was grinding an unsightly groove into the sides at that point anyway. It's much cleaner now when sharpening.
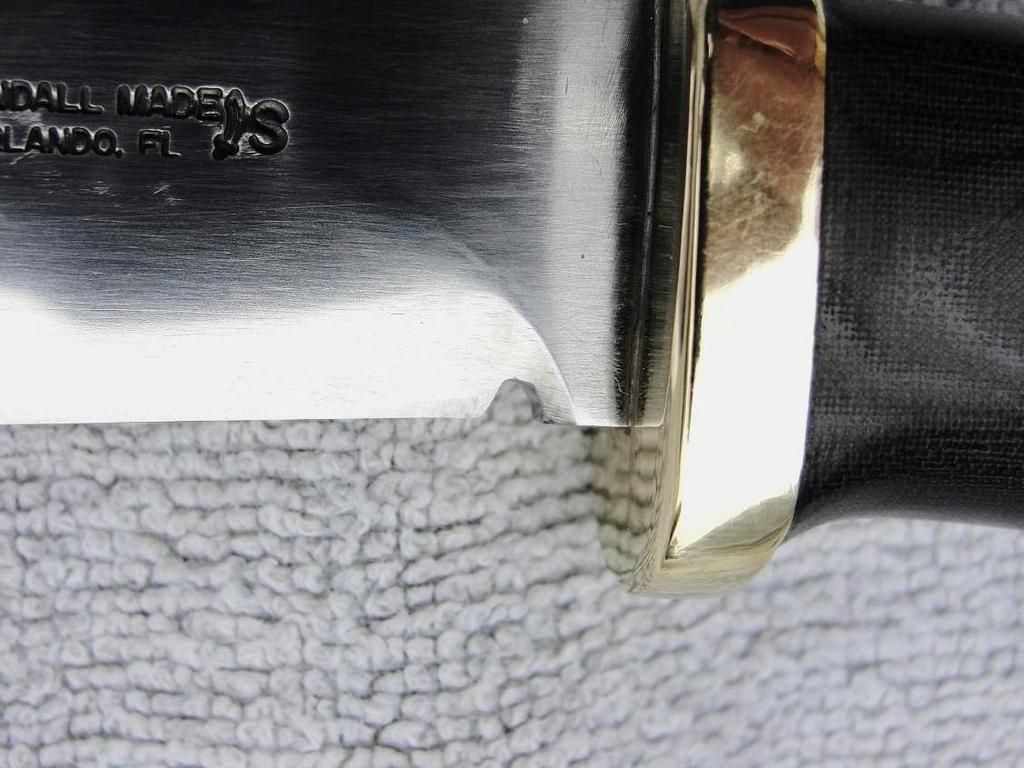
There is still some finger guard available,....plenty for this use. The Border Patrol Handle helps a lot to keep your hand from slipping around also.....
A few more of the sheath:
A few in hand:
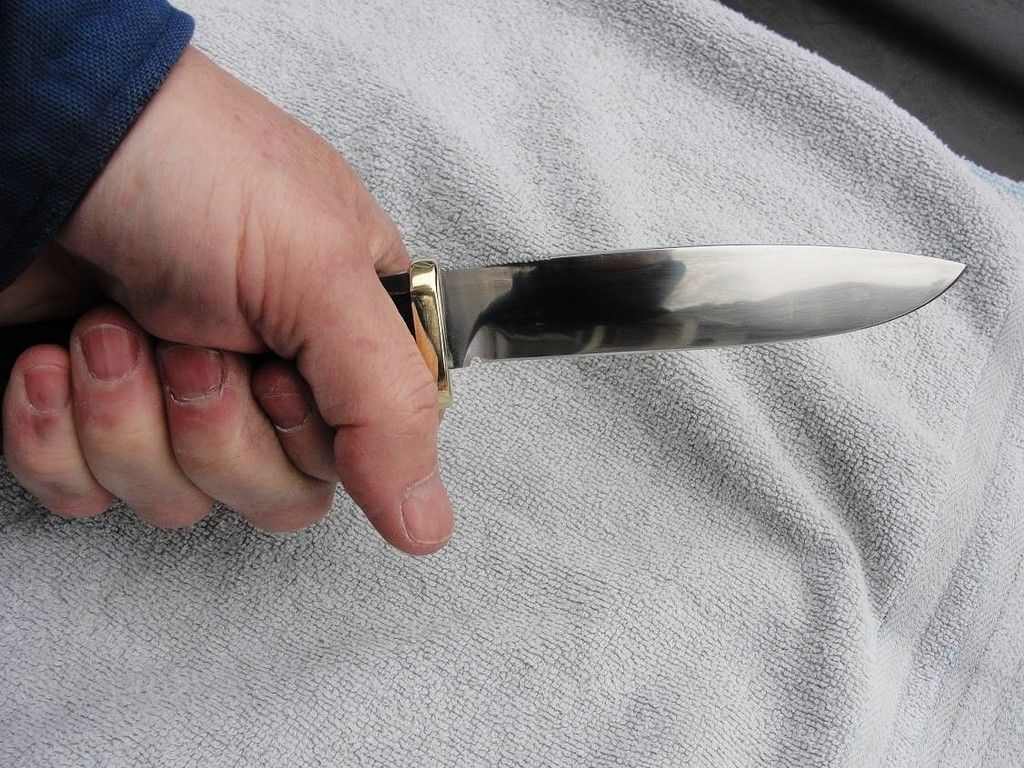
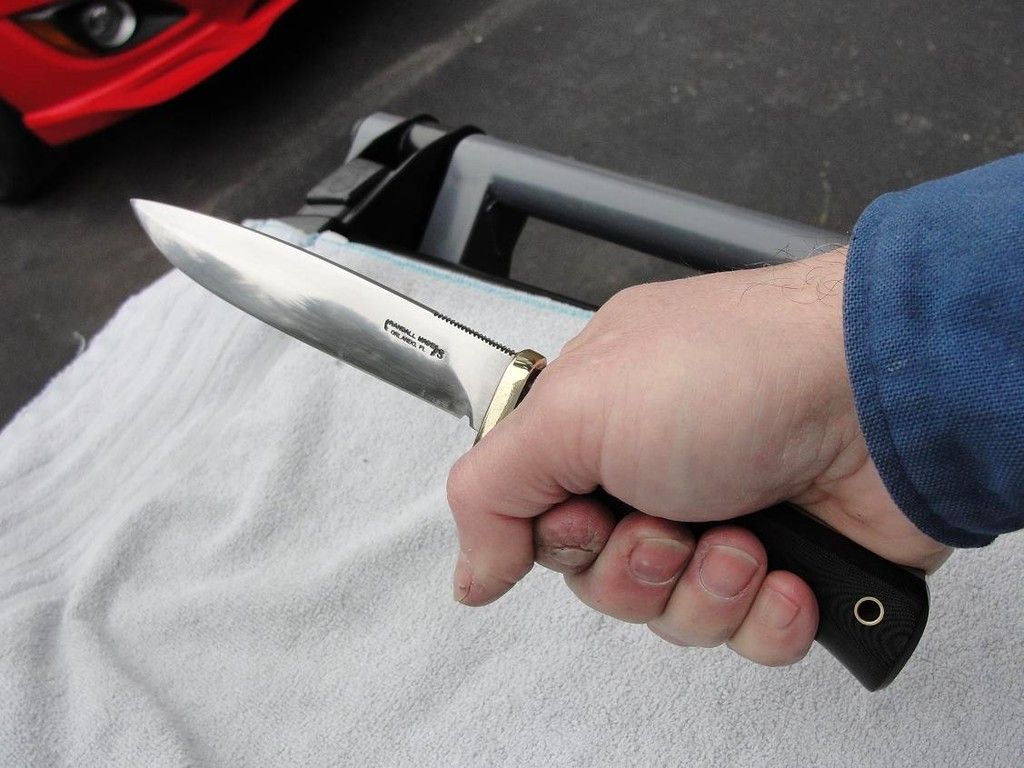
I can choke up easily to get my hand right up to a useable point over the blade's edge nearest the hilt for best leverage:
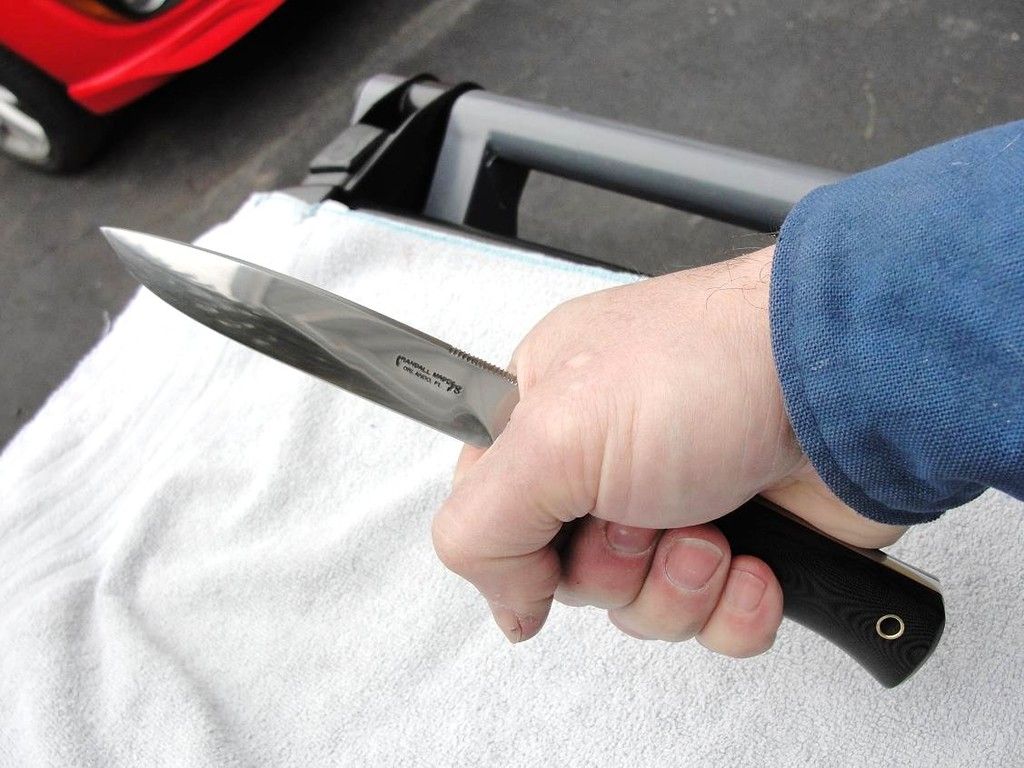
The usual "flared up" hilt top was also lowered (much more comfortable when using the thumb notches also), and the edges were beveled for comfort. It's SUPER comfortable because of the shape of the hilt that fills the web of my hand very well.
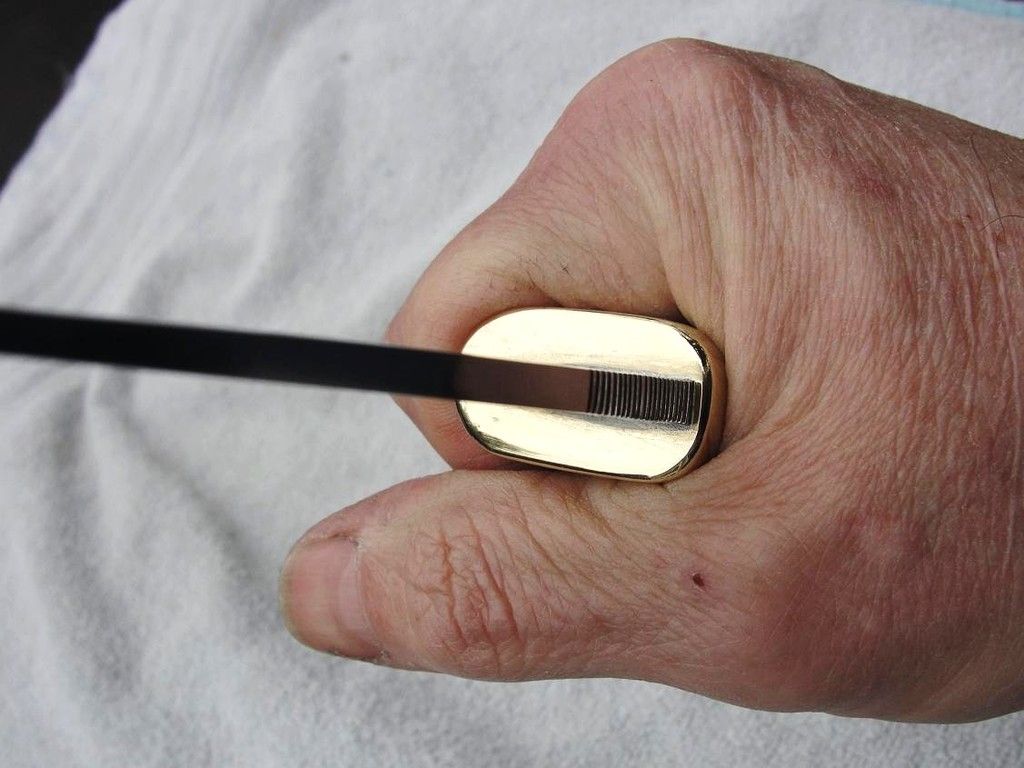
.....all in all,....a pleasant way to spend about 20 hours, on a Randall Prototype Bushcrafter!
The current "grind" is closest I think to a saber grind, ....currently with a meaty 25 degree final edge. I may convex that out in the future, of maybe bring it down to a 20 degree final edge for easier bite into wood. Thought I'd work with it awhile as is before I decide to adjust the edge.
If they ever decide to produce a factory version,....make it in 01 tool steel, and leave off the thumb notches. I can live with them here, but prefer a plain spine in the woods.
And Yeah,....I KNOW my factory warranty is toast....


