Yep,...practice makes perfect,....er,...well,...more like "adequate",.....but always strive for that elusive perfection!

OK,...I decided to post just one more detailed customization of a recently acquired Vietnam era Randall Model 20. I'd been watching it on ebay for over 6 weeks priced at $500.00, but finally decided to buy it when the seller lowered the price to $425.00 shipped Priority Mail. (and even then it took me a few weeks to decide)
I hope folks will view this customization with an open mind. (to a drop point with full length blade edge with the choil removed). For reference I think this is an excellent model to work with,....especially if you can find a rather worn example like this.
This one has seen a lot of carry and use time, and I bought it specifically for a conversion because the finger choil area was now so shallow. I also liked the carbon steel blade, and the ease of sharpening. (not to mention reshaping and hand sanding!)
This is how it arrived to me a few days ago:
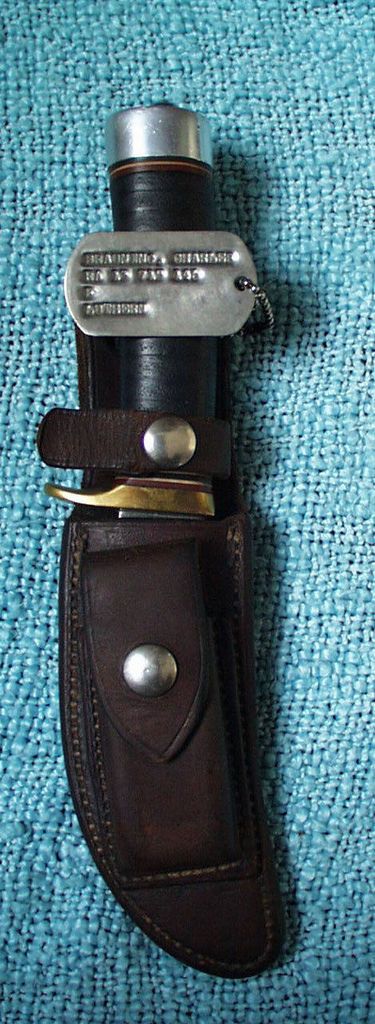
As you can see,....the knife's edge has been sharpened extensively, and there wasn't much of the finger choil remaining. (although I suspect some of these older knives just had shallower choils?)
I also like the "Randall Made " stamp being straight on these old knives,......made this conversion easier I think too as the grinds were a bit simpler back then.......
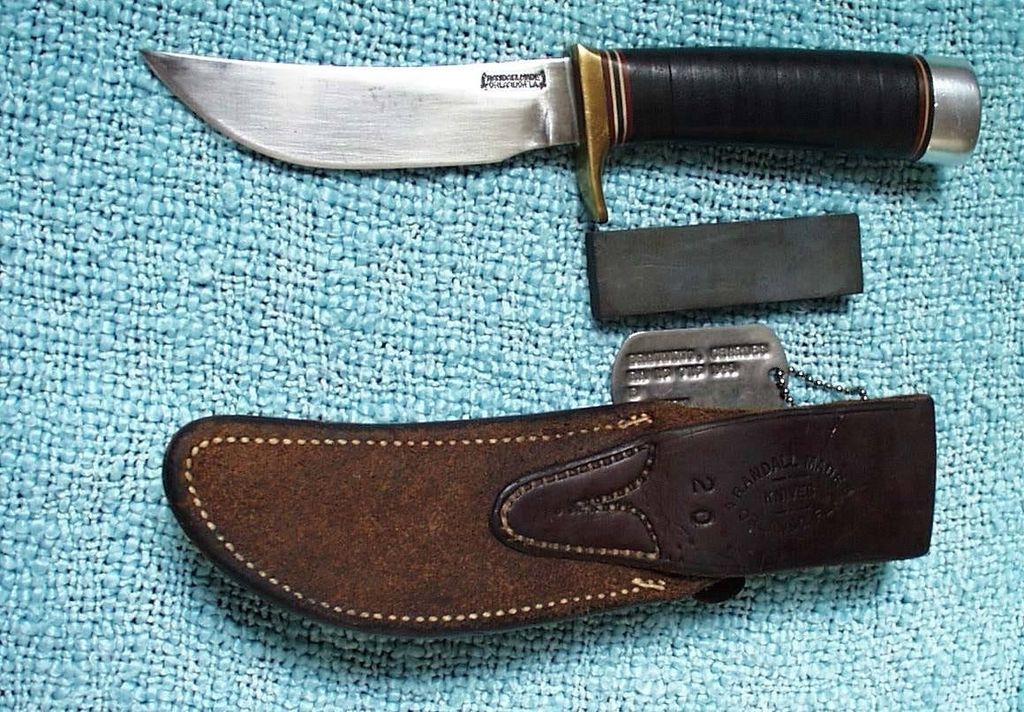
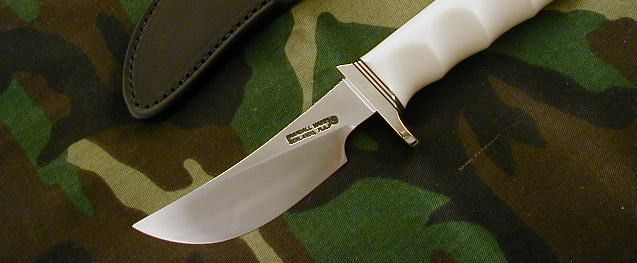
Compared to what a new Model 20 generally looks like,....with a much deeper finger choil and angled stamp....
There were also some nasty digs into the aluminum pommel I would address later.......

Ok, I cut off the lower edge even with the lowest part of the finger choil, and removed the up swept blade tip into a slightly dropped point. I didn't want to lose any more blade length, so didn't drop the point any more. Dropping the point also reduced the large "belly", as it can cause the blade to slip off of wood cuts at the end of a cut. This was a skinner model with the large belly a usually preferred feature for skinning large game. For working wood it has much better suited geometry now.
This is how I marked what was coming off,...simple magic marker:

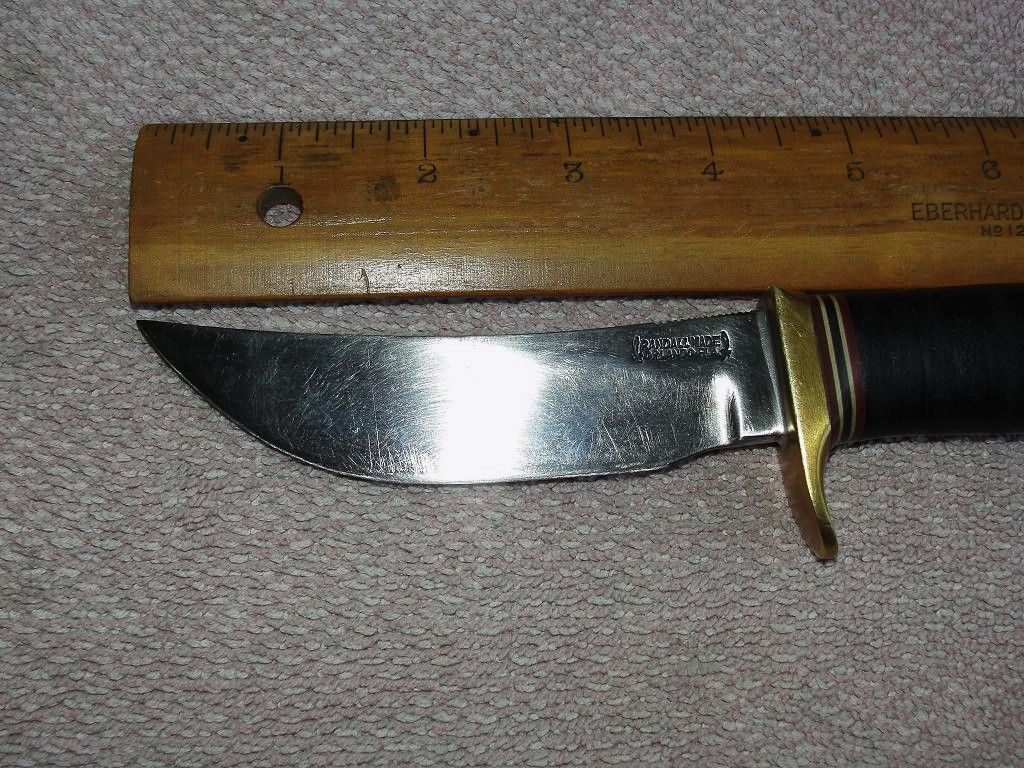
....and this is what I had to work with,....a hair over 4-1/8 inches:
I also thinned the blade and re-tapered toward the tip as well as added some tapering toward the main edge,....necessary since I had removed the thinnest part of the blade and it was way too thick now.
Thinning the blade width also allowed me to hand sand in a 90 degree totally flat spine edge, which will allow easy bark scraping for making kindling, as well as striking a fire steel.
I also found the sharp edges of the "flat" style hilt a bit uncomfortable when gripping up as far as the finger guard would allow, and I later rounded it off and lowered the height almost flush to the spacers. On a tight grip up against the guard, my hand is "happy" and super comfortable.

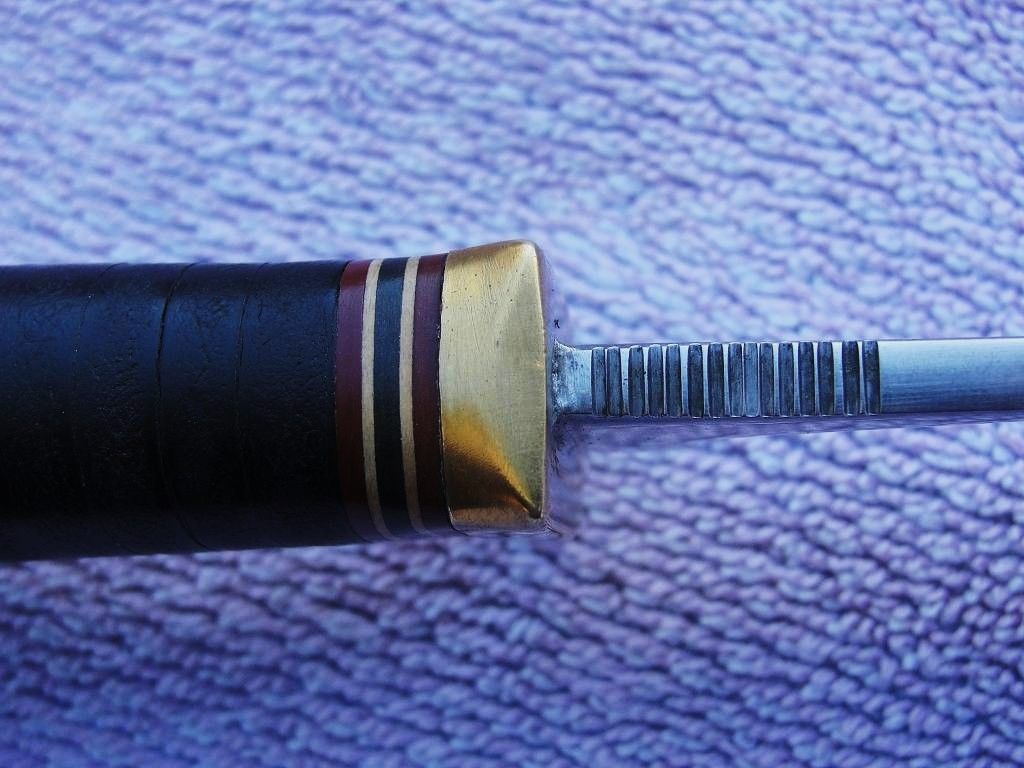
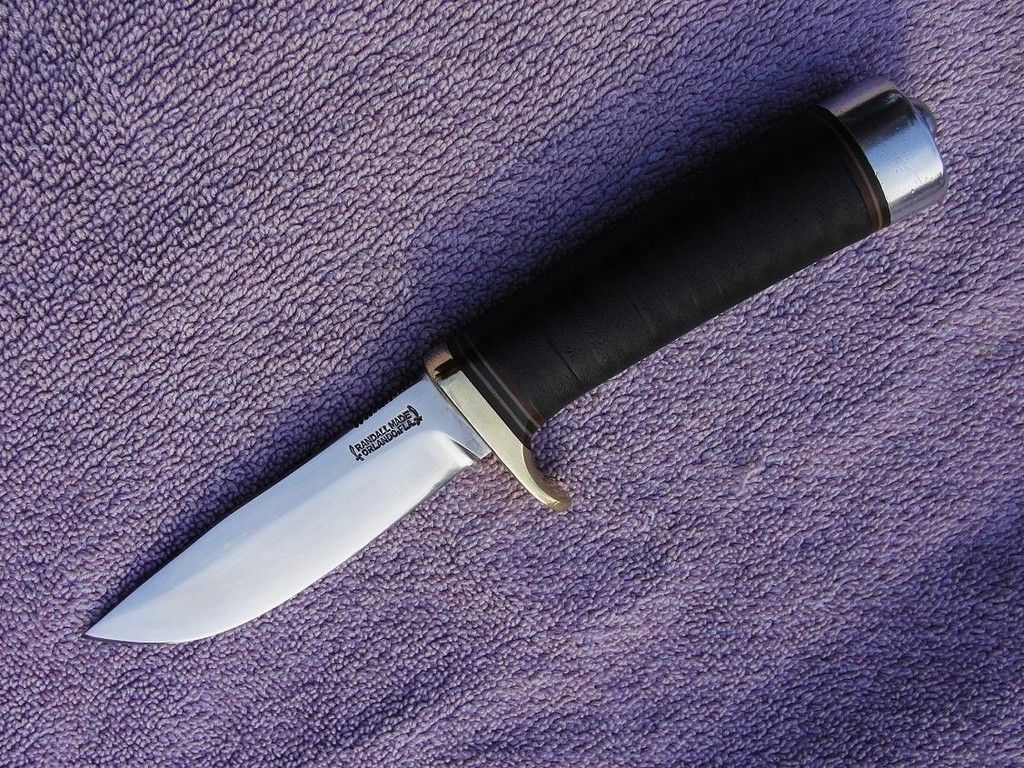
Here are some pics with the completed knife, with the hilt rounded and the pommel smoothed up a bit also:
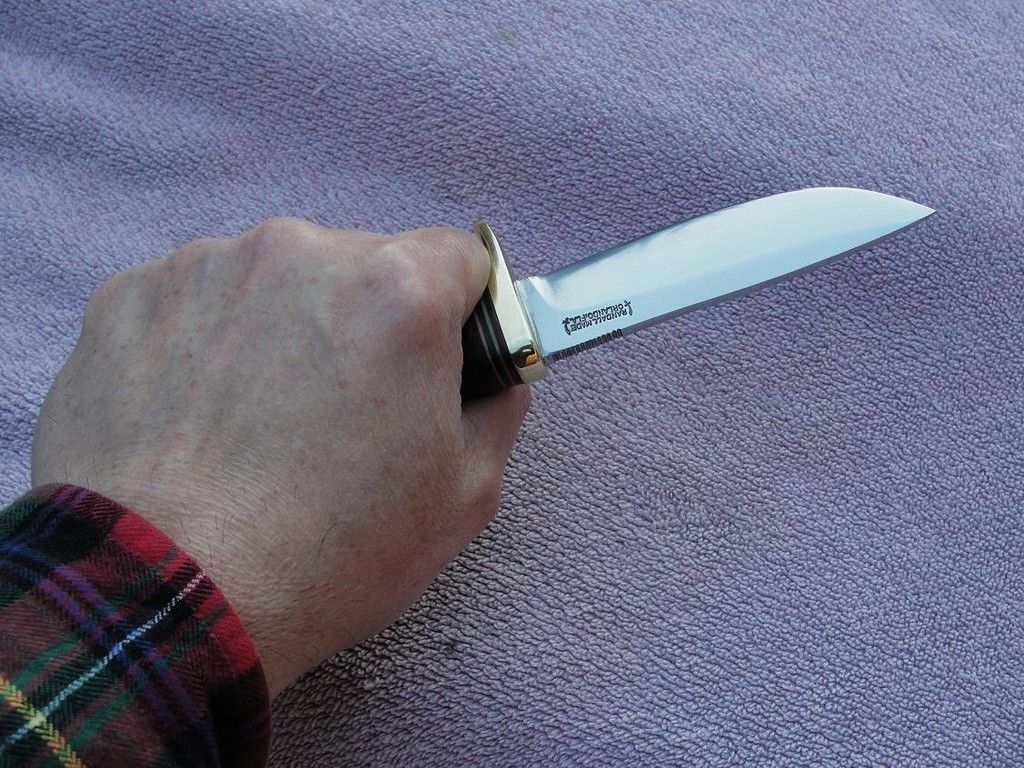
Sort of a saber grind now,.....and I left the upper sections near the spine dead flat to make for a sharp 90 degree spine edge. This works great for scraping tasks like making fine bark tinder, or striking a fire steel.
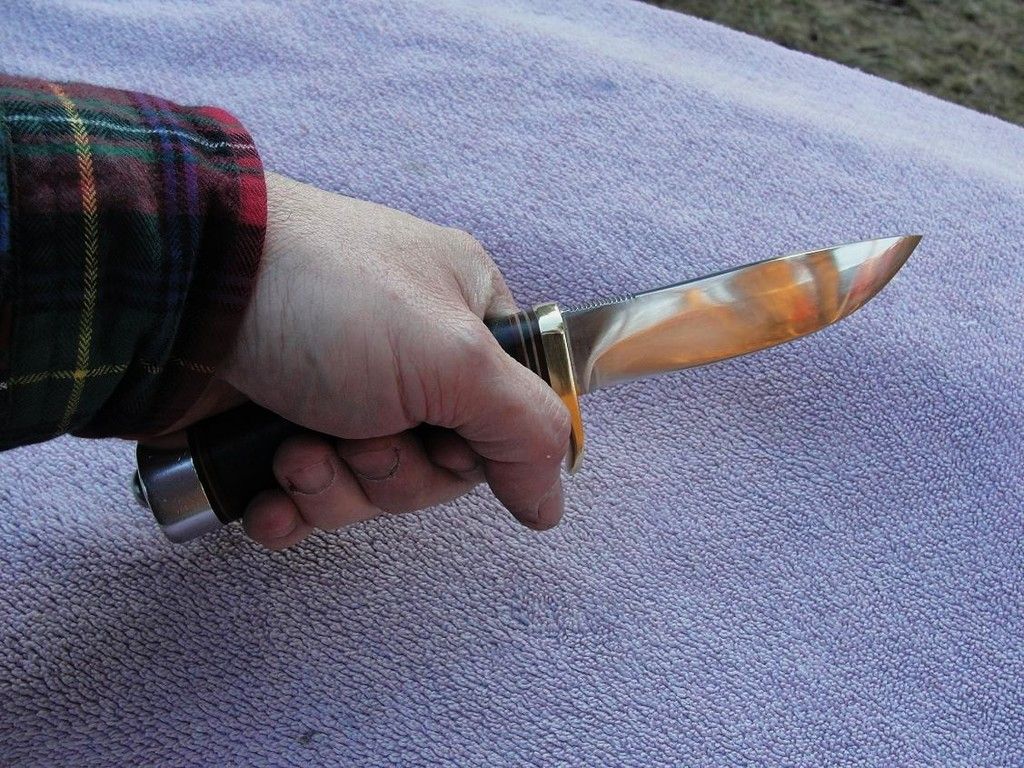
Lots of hand sanding with 220 grip, then 400, then 1500 gets very near a full mirror finish. This was plenty, as it's a user.
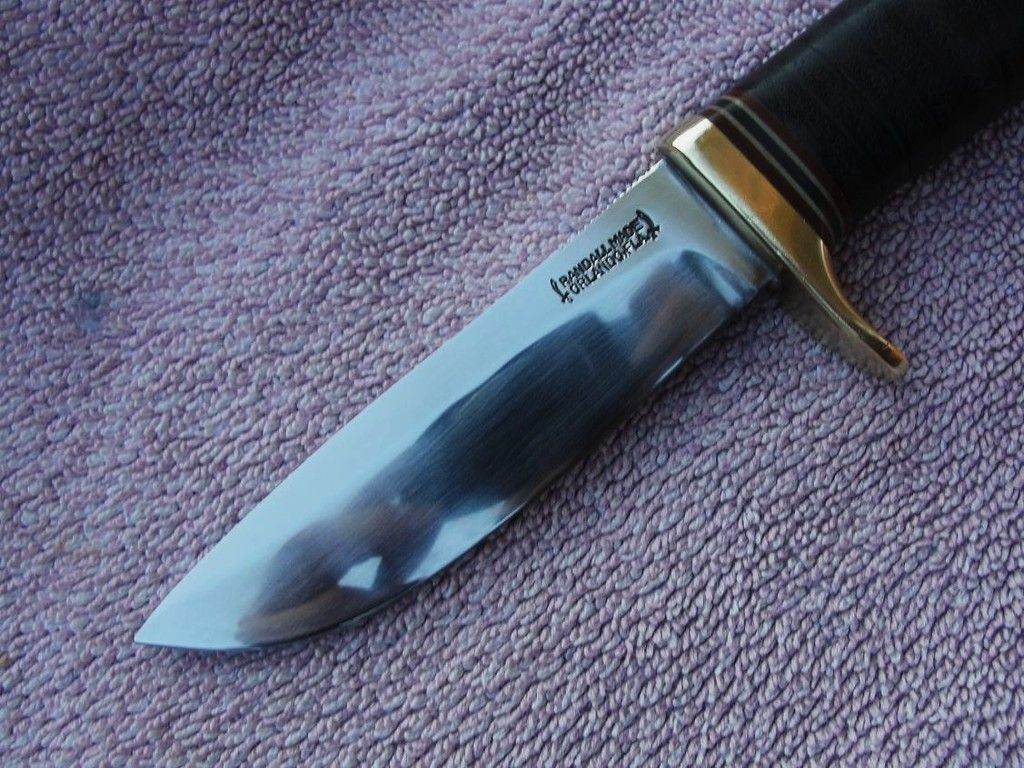
The spine is now tapered more than original, but still left thicker than most bushcraft style knives. I'll work with it awhile before I go any further, as I found it cuts really well considering I put a beefier 25 degree edge on it. 20 degrees is best for flesh cutting, but 25 degree edge should protect the edge better working on wood.
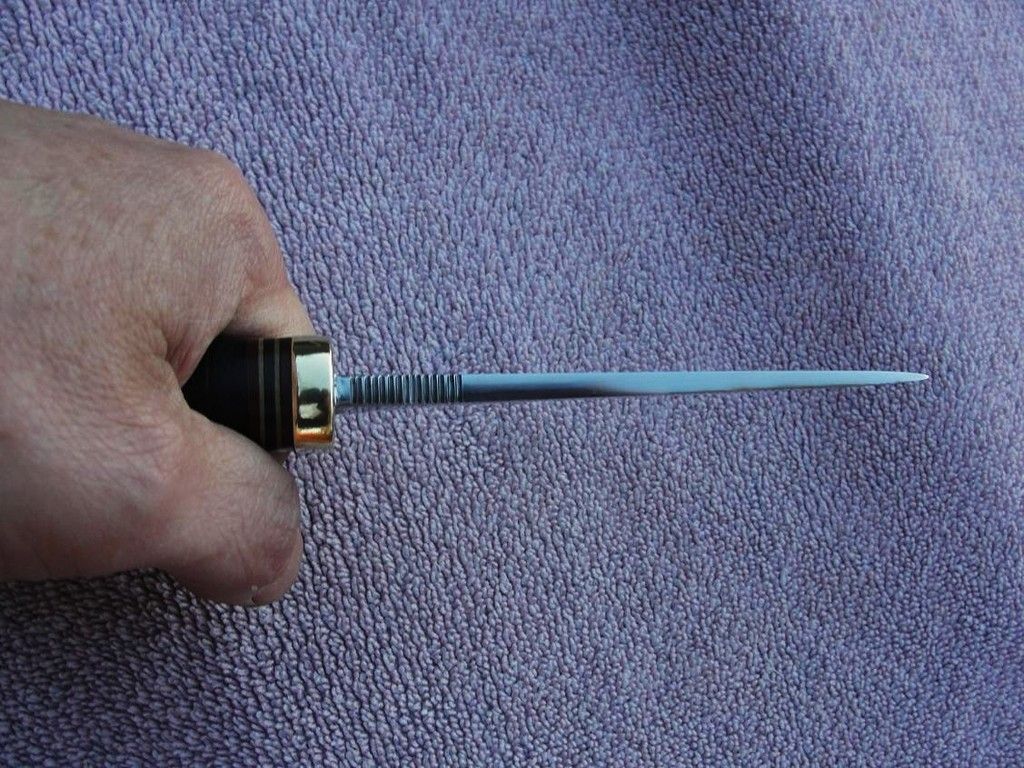
This was the critical area I reworked with a flexible shaft machine to get "close", and then a lot of time hand sanding to get it edge ready. This put back another 5/8 inch or so of useable edge, more than making up for the 1/4" I lost by dropping the point. The area gained in close to the hilt is an important one, with the highest leverage for tough cutting tasks, .....like dropping a good sized sapling!

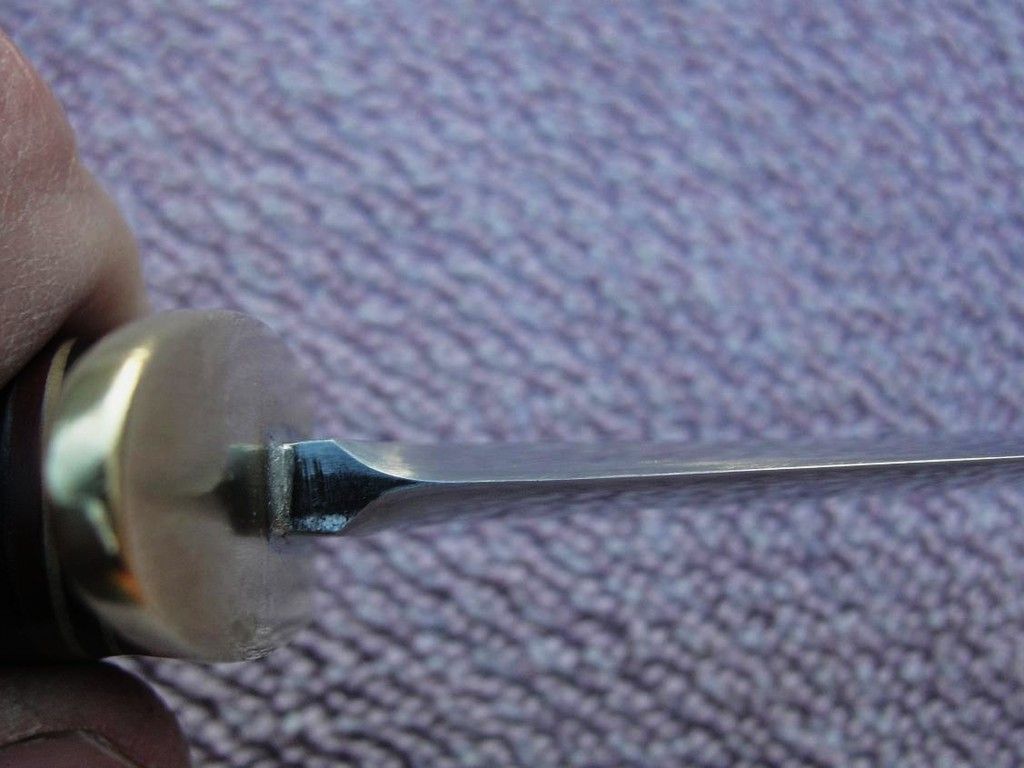

.....after the rounding:
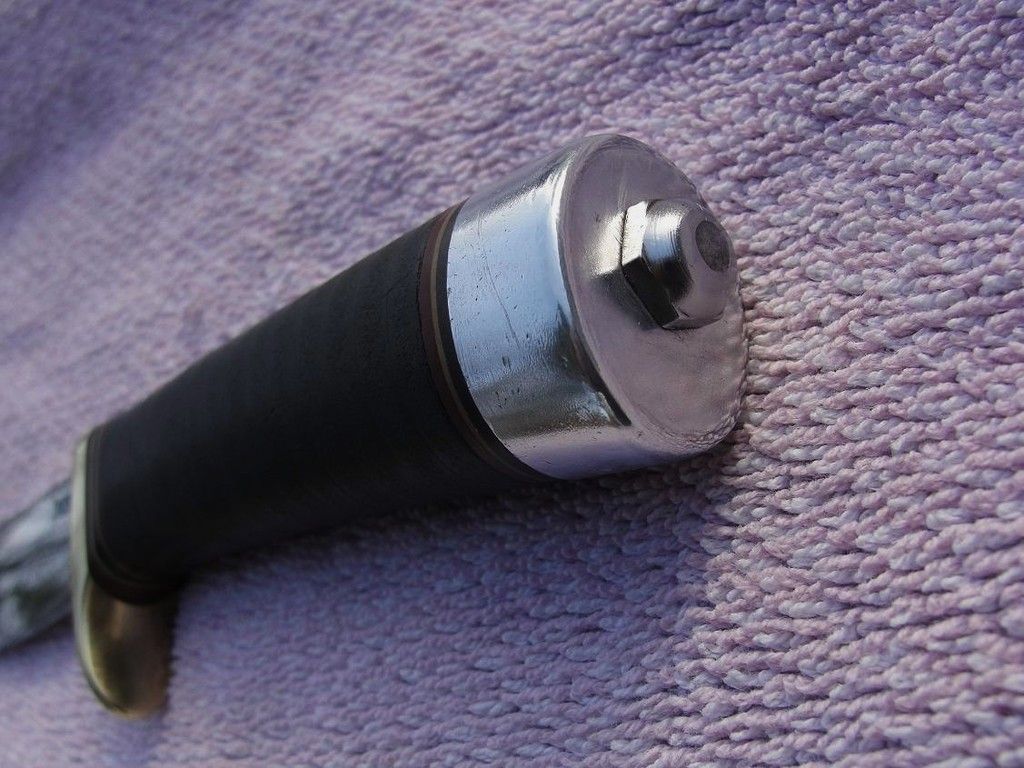
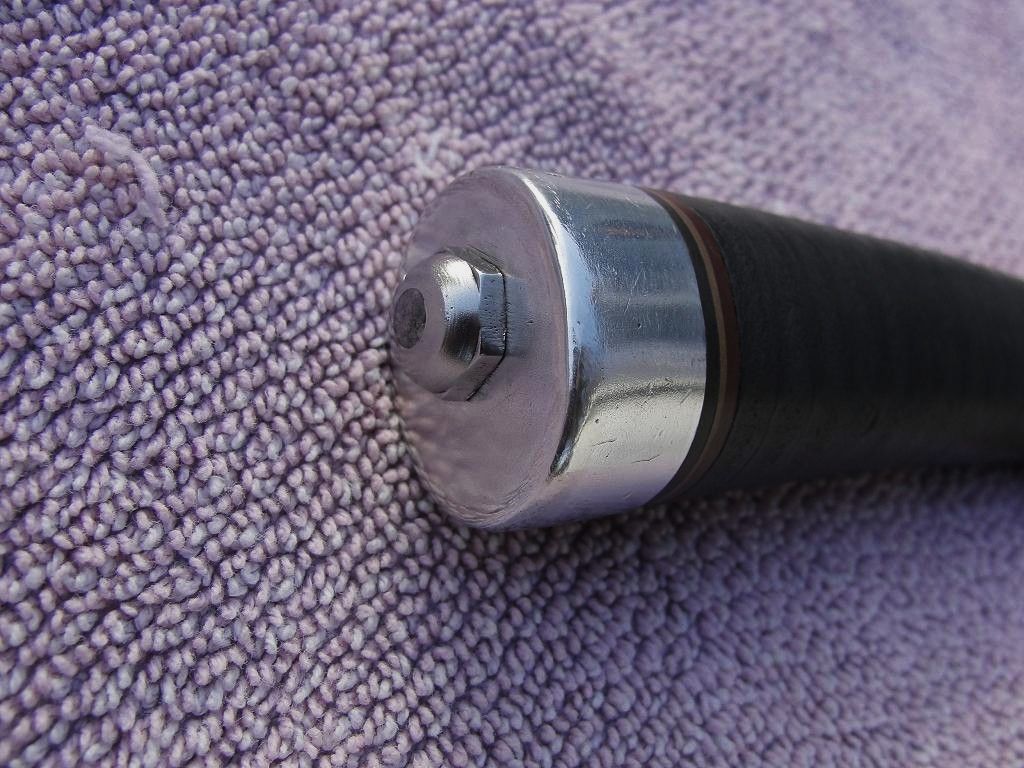
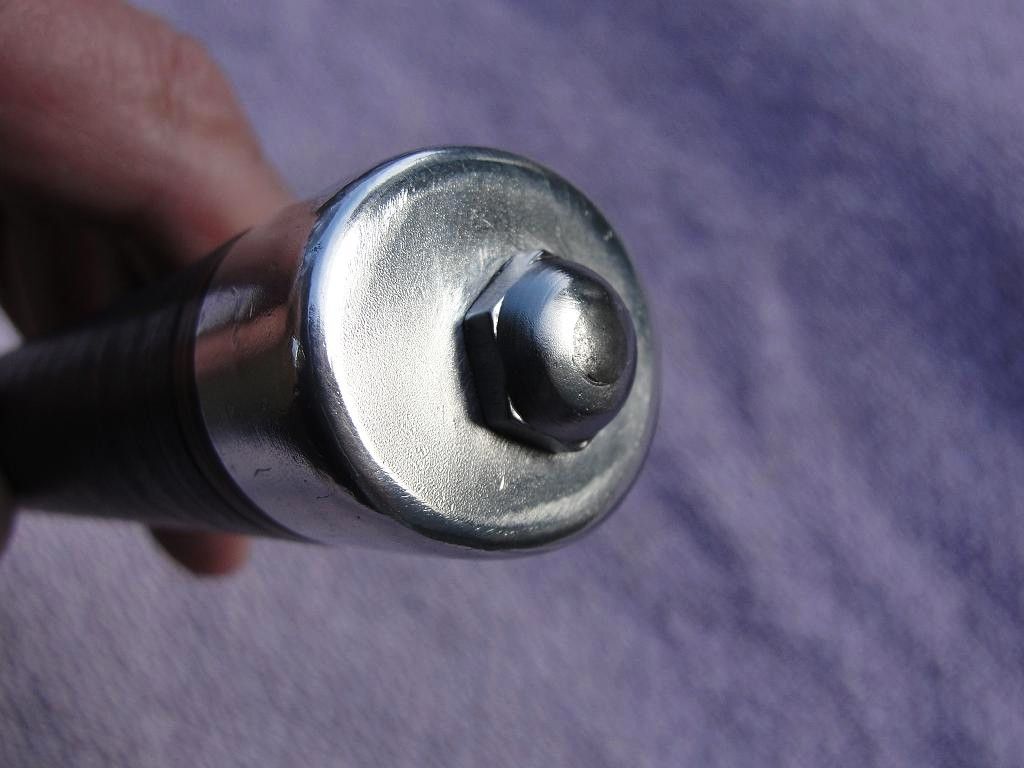
I smoothed up the worst offending digs into the pommel, and rounded off the sharp outer edge a bit since some of the deeper dings were in that area. I wasn't looking to get it like new, as I will be using it anyway. But much better now:
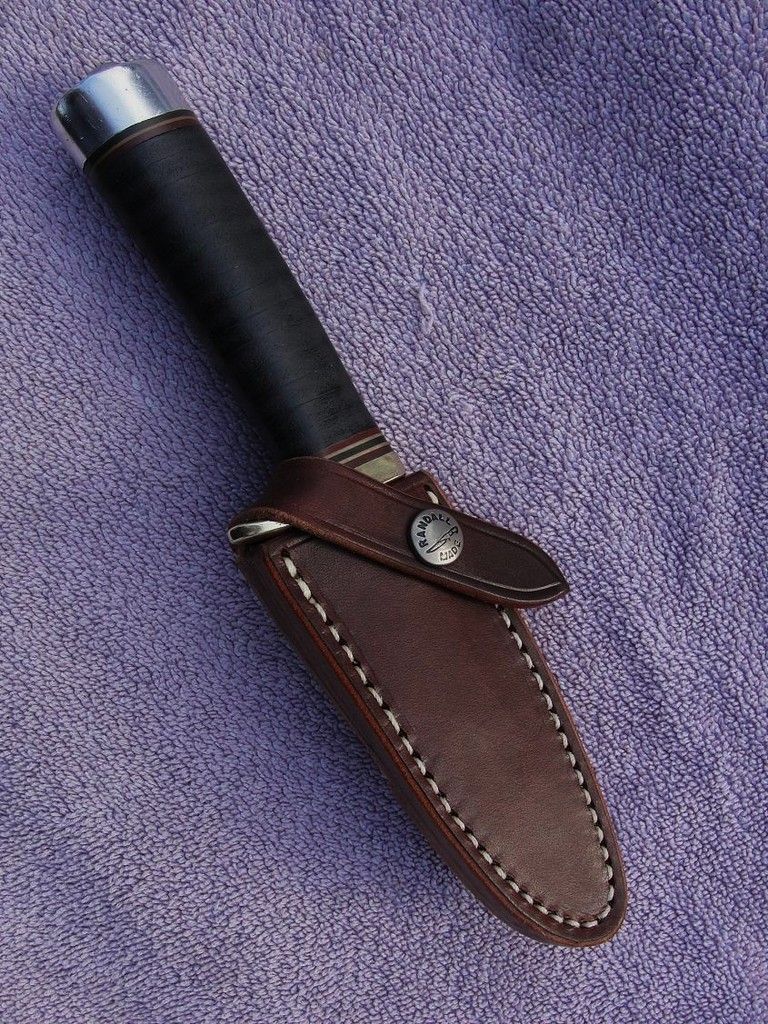
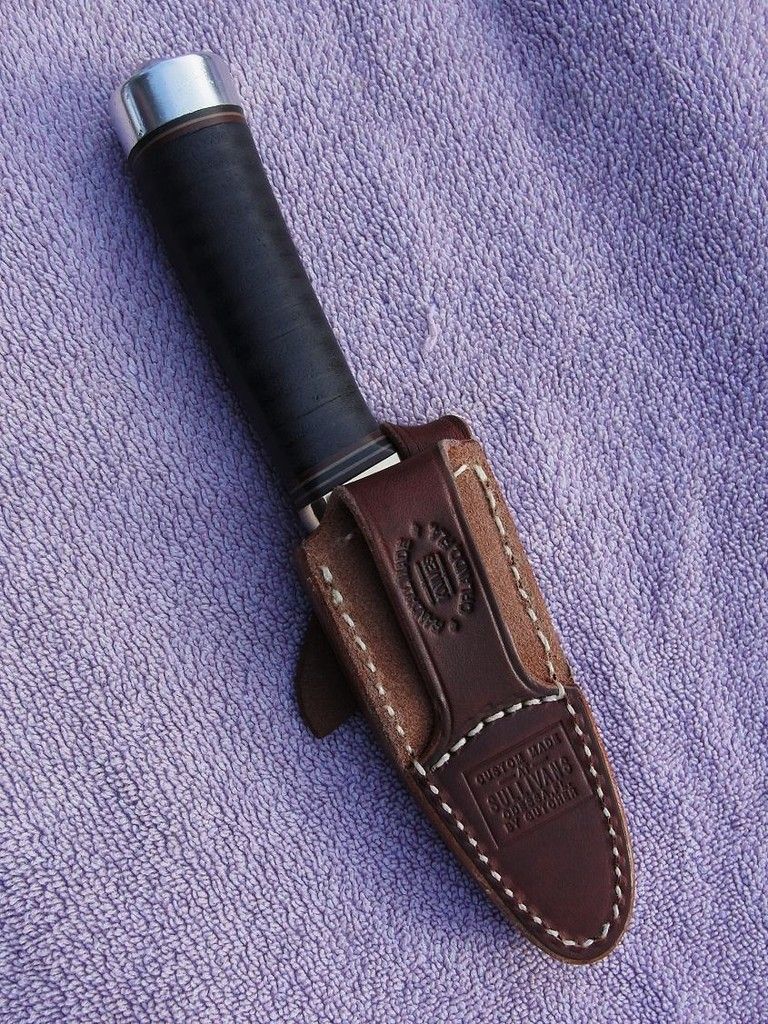
The old Model 20 sheath was a bit loose even before the work I did, but found the knife, (with the thinner sides much like a Model 26 Pathfinder),......now fits great into one of the Sullivan (Randall marked) "High Ride" sheaths I had made up for several of my Model 26 knives a few months ago:
Anyway,.....after 2 days, maybe 15 hours of mostly hand sanding,.....I'm very pleased the way this worked out. The 01 tool steel carbon blade takes a great edge. And I found the carbon blade was much easier than stainless when it comes to hours of hand sanding. :-)
All initial work was done with a flexible shaft machine (mine is made by "Foredom", a jewelers grade tool),.... using a thin "cut off" disc. Next was shaping the sides and choil area to a thickness that would take a new edge, using 1/2" and 1/4" rubber backed drum sanders. (60 and 120 grit covers used).
Once I got close the really slow hand sanding against a machinists steel block took the most time, starting with 220 grit, then 400, and finally 1500. I usually have some 800 grit on hand but had run out or I would have used that between the 400 and 1500 to save time.
Oh,...the blade length ended up at 3-7/8". The only other thing I may do is add a thong hole, so that I can thread a colorful paracord through. If put down in the woods,....that will make the knife much easier to locate.


